Whiteout is so last decade. With your Sharp copier, you can scan documents in and select specific parts to be erased, before printing or emailing it. This is a great way to correct errors, remove sensitive information, or remove blemishes from your documents. In this article we’ll walk you through the Erase Specified Range function of your Sharp copier so you can try it for yourself.
Step 1
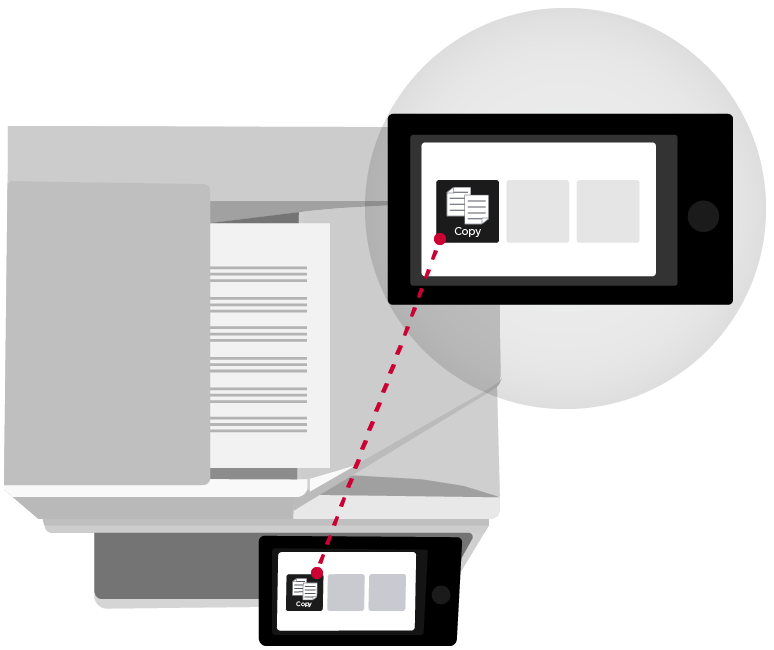
Place your document face-up in the document feeder and touch the Copy button.
Step 2
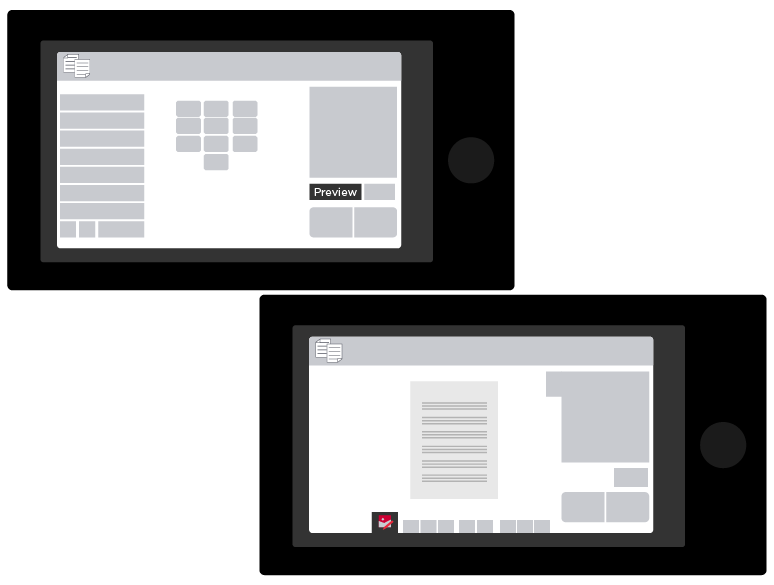
Touch the Preview button. This will scan the document in and bring up a preview on your touchscreen. In this mode you can pinch and zoom to review your document, much like you would on a tablet or smartphone.
Step 3
Touch the Edit button on the bottom of the screen. It has an icon with a photo and a pencil.
Step 4
Once in edit mode, select the page you want to edit by touching it, then touch the Erase Specified Range button.
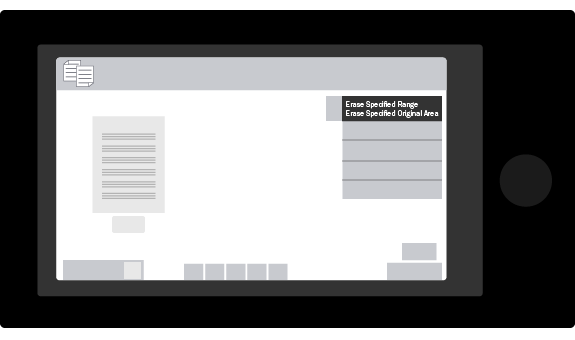
Step 5
You can now zoom in on the document to the area you would like to edit, next tap on the spot where your range will start and touch the button that says “This is Start Point”.
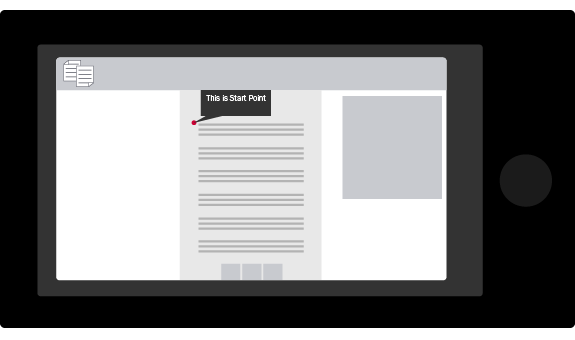
Step 6
Tap on the spot where your range will end and touch the button that says “This is End Point”.
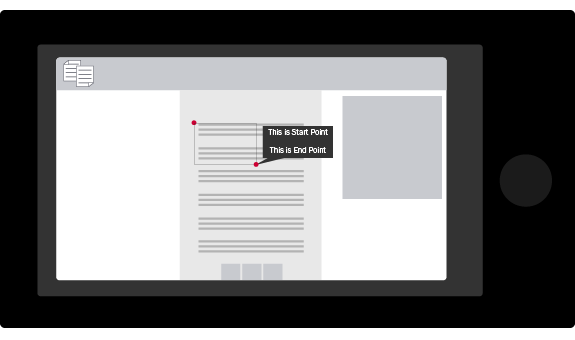
Step 7
You will see a box covering the area that will be erased. You can move or adjust the size of the box with the arrows at the edges of the box. Once you are happy with the placement of your erased area, touch the Execute button.
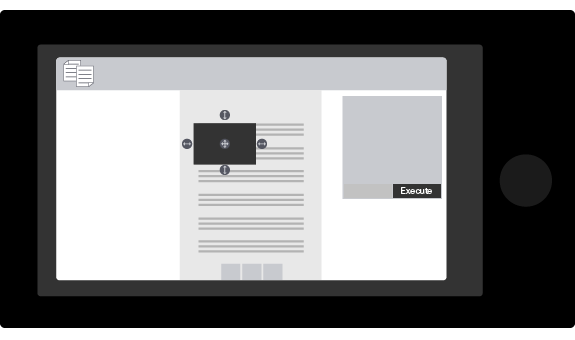
Step 8
You can erase up to four areas on a single page by specifying additional ranges, or you can touch the Exit button if you choose to only erase one.
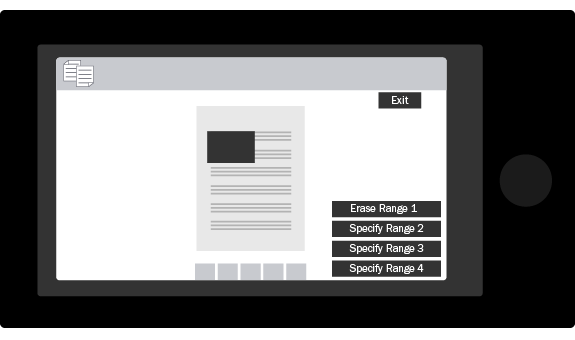
Step 9
Touch the Edit End button
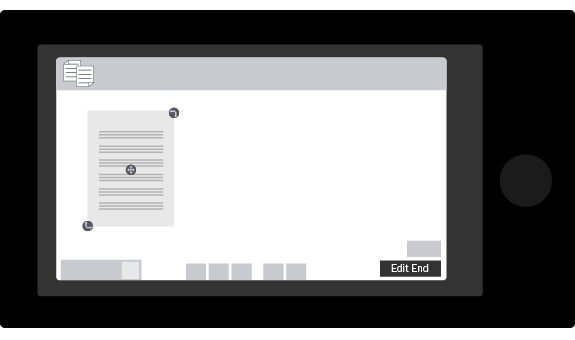
Step 10
In your final preview, you will see the section you erased has been removed. Touch the Number Pad on the top right to specify your desired number of copies. You can also select your other copy settings from this screen.
Step 11
Touch the Start button to make your copies.
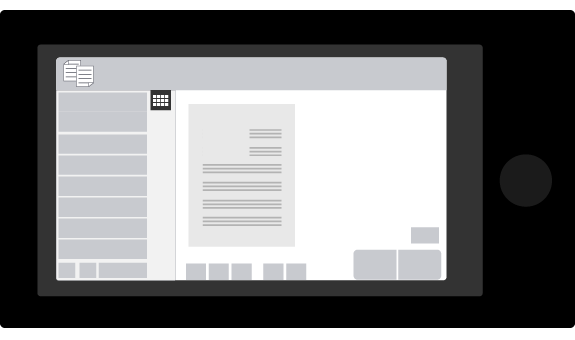
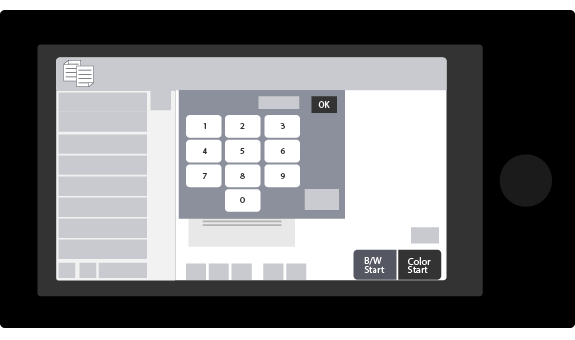
That’s it! You’ll now have the same document as before, but without any information you choose to remove. Don’t forget to check our library of helpful copier tutorial videos. You can also download and print our handy instruction sheet for the Erase Specified Range function.
